Introduction
Traditional concrete and asphalt driveways may look solid, but they often come with one big problem: poor drainage. Rainwater can’t soak through, which leads to pooling, runoff, and even flooding. A smarter solution is a permeable driveway. Built with materials that allow water to pass through into the ground, permeable driveways combine function, durability, and eco-friendliness. In this guide, you’ll learn step by step how to create a permeable driveway for better drainage, along with the best materials and maintenance tips.
Why a Permeable Driveway Matters
Permeable driveways are becoming more popular because they solve multiple issues:
- Improved drainage: Water filters naturally through the surface, reducing pooling and runoff.
- Eco-friendly: Helps recharge groundwater and reduces strain on stormwater systems.
- Durability: Properly installed permeable surfaces resist cracking and erosion.
- Aesthetic appeal: Available in various materials and patterns for a custom look.
- Compliance: Some regions require permeable surfaces to meet stormwater regulations.
By switching to a permeable surface, you’ll not only protect your property but also contribute to a more sustainable environment.
Step-by-Step Guide to Creating a Permeable Driveway
Step 1: Choose Your Permeable Material
Several options are available depending on your budget and style:
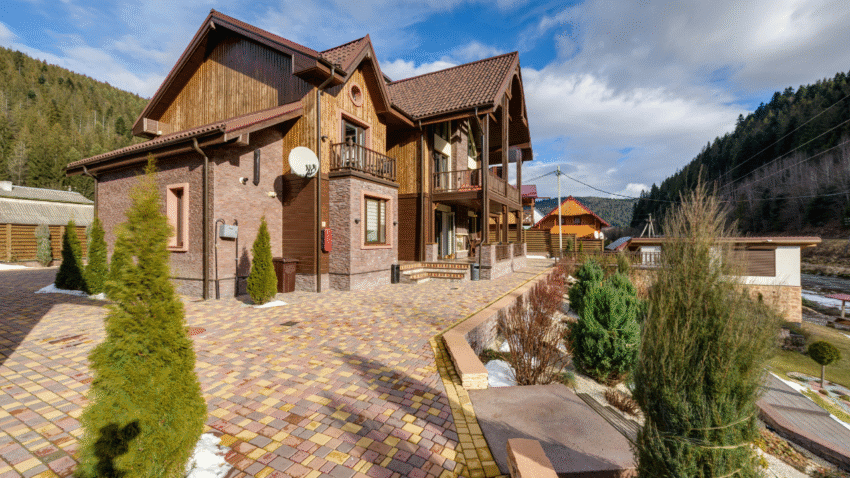
- Permeable pavers: Interlocking concrete or stone blocks with gaps that allow water through.
- Porous asphalt: Similar to traditional asphalt but designed to absorb water.
- Pervious concrete: A mix with larger air gaps, allowing water to pass directly through.
- Gravel or crushed stone: Budget-friendly and naturally permeable, though higher maintenance.
- Grid systems: Plastic or concrete grids filled with gravel or grass, providing both stability and permeability.
Pro Tip: Permeable pavers are the most popular choice because they balance durability, aesthetics, and drainage.
Step 2: Plan and Design Your Driveway
- Measure your driveway space and outline the design with stakes and string.
- Maintain a width of at least 10 feet for single-lane driveways.
- Ensure the driveway slopes slightly (about 1–2% grade) to assist natural drainage.
- Check local building codes for requirements.
Step 3: Excavate the Area
- Remove the existing surface (asphalt, concrete, or vegetation).
- Excavate to a depth of 12–18 inches depending on your soil and driveway material.
- Ensure the subgrade is stable and follows the correct slope.
Step 4: Install a Geotextile Fabric
- Lay geotextile fabric over the subgrade.
- This prevents soil from mixing with the gravel base while still allowing water to pass through.
- Trim fabric edges to fit the excavation area.
Step 5: Add the Base Layer
- Pour in 6–8 inches of crushed stone or angular gravel.
- Compact thoroughly with a plate compactor.
- This base stores water and provides stability for the driveway.
Step 6: Add a Bedding Layer
- Spread 1–2 inches of finer gravel or sand on top of the base layer.
- Level the surface evenly with a screed board.
- Do not compact this layer if you’re installing pavers—it should remain loose to set them into place.
Step 7: Install the Driveway Surface
- For Pavers: Lay them tightly together according to your chosen pattern. Use a rubber mallet to tap into place.
- For Porous Asphalt or Concrete: Pour and spread the mix evenly across the base. Compact with a roller.
- For Gravel: Spread evenly over the bedding layer and level with a rake.
- For Grid Systems: Place grids on the bedding layer and fill with gravel or soil/grass.
Step 8: Fill the Joints
- For pavers, sweep fine gravel, sand, or polymeric joint filler into the gaps.
- Compact lightly and add more filler until joints are completely full.
- This locks pavers in place while maintaining permeability.
Step 9: Compact and Finish
- Run a plate compactor over the entire driveway to secure materials.
- Sweep away excess filler or gravel from the surface.
- Hose down lightly to help filler settle into joints.
Step 10: Maintain Your Permeable Driveway
- Sweep debris regularly to prevent clogging.
- Power wash annually to clear dirt from pores or joints.
- Refill gravel or sand as needed to maintain permeability.
- Reseal porous asphalt or concrete every few years to protect against wear.
Common Mistakes to Avoid
- Mistake 1: Using Wrong Materials
Dense or smooth pavers without gaps aren’t permeable.
Solution: Choose products specifically designed for water infiltration. - Mistake 2: Skipping the Base Layer
Without a deep gravel base, water can’t drain properly.
Solution: Install at least 6–8 inches of crushed stone. - Mistake 3: Poor Excavation Depth
Shallow excavation leads to poor drainage and instability.
Solution: Dig deep enough for base, bedding, and surface layers. - Mistake 4: Ignoring Maintenance
Clogged joints or pores make permeable driveways ineffective.
Solution: Sweep, wash, and refill materials regularly. - Mistake 5: Improper Slope
Flat or uneven driveways cause puddling.
Solution: Maintain a slight slope for natural runoff.
Extra Driveway Tips & Hacks
- Add Edging: Install brick, stone, or steel edging to keep pavers or gravel from spreading.
- Use Polymeric Sand: This locks joints between pavers while allowing permeability and preventing weeds.
- Combine Materials: Consider blending pavers with gravel strips for a decorative look.
- Install Drainage Trenches: For heavy rain areas, add French drains alongside for extra water control.
- Sustainable Landscaping: Pair your driveway with rain gardens or permeable walkways for eco-friendly curb appeal.
For more ideas, check out our guide on how to prevent water pooling on your driveway, which complements permeable driveway strategies.
Conclusion
Creating a permeable driveway is one of the best ways to solve drainage issues while improving your property’s look and function. By excavating properly, installing the right base, and choosing durable permeable materials, you’ll enjoy a driveway that handles rain naturally and lasts for decades.
Pro Tip: Think of a permeable driveway as both a practical and eco-friendly investment—it saves you from costly drainage problems while boosting curb appeal and property value.