Introduction
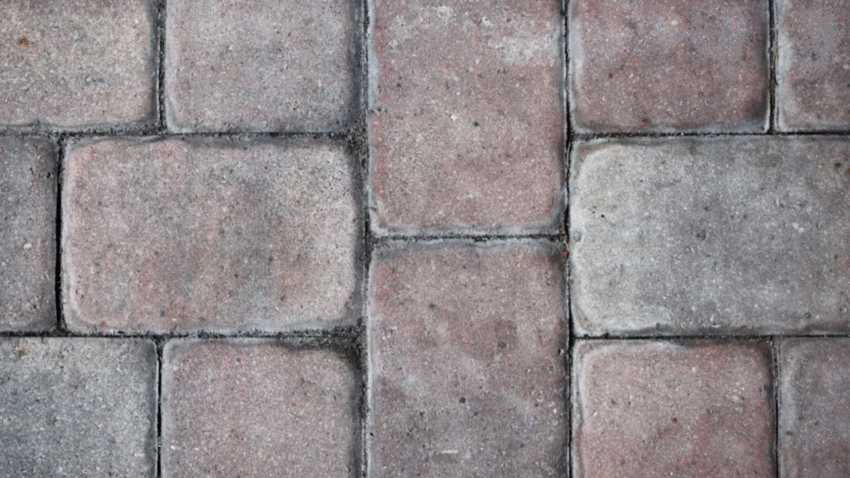
Want a driveway that combines durability with style? Patterned concrete—sometimes called stamped or decorative concrete—is the perfect choice. By imprinting designs and adding color, you can transform plain concrete into the look of stone, brick, tile, or even wood. Learning how to create a patterned concrete driveway will give you a long-lasting surface that enhances curb appeal and adds value to your property.
Why Patterned Concrete Matters for Your Driveway
Patterned concrete isn’t just about looks—it comes with practical advantages, too:
- Versatile designs – Choose from stone, slate, brick, or custom patterns.
- Durability – With proper installation and sealing, patterned concrete can last decades.
- Low maintenance – Unlike pavers or bricks, there are no joints where weeds can grow.
- Cost-effective luxury – Provides the appearance of premium materials at a lower price.
- Boosted property value – Decorative driveways make a lasting impression on visitors and buyers.
By opting for patterned concrete, you get both strength and beauty in a single surface.
Step-by-Step Guide to Creating a Patterned Concrete Driveway
1. Plan and Design the Pattern
The first step is to decide on the style and layout.
- Choose from popular designs like cobblestone, slate, brick, flagstone, or wood grain.
- Select colors that complement your home’s exterior.
- Use stencils or design software to preview patterns before committing.
2. Prepare the Driveway Area
A strong base ensures long-term performance.
- Excavate the area to a depth of 6–8 inches.
- Remove grass, roots, and debris.
- Add a 4–6 inch compacted gravel or crushed stone base.
- Ensure proper slope for drainage (1–2% grade away from the house).
3. Build the Formwork
Forms hold the concrete in place while it sets.
- Use wooden 2x4s or 2x6s to outline the driveway.
- Secure with stakes driven firmly into the ground.
- Check alignment with a level to ensure straight edges.
4. Mix and Pour the Concrete
For driveways, use a high-strength mix (3,000–4,000 PSI).
- Pour the concrete evenly across the base.
- Spread with shovels and rakes.
- Use a screed board to level the surface.
- Work quickly—timing is crucial for stamping later.
5. Add Color (Optional but Recommended)
Coloring enhances the patterned effect. Options include:
- Integral color – Mixed into the concrete before pouring.
- Color hardener – Broadcast across the surface after pouring and floated in.
- Release agent – A colored powder applied before stamping that also prevents mats from sticking.
6. Stamp the Pattern
This is where the magic happens.
- Place rubber or polyurethane stamping mats onto the concrete.
- Press firmly with even pressure to imprint the design.
- Overlap edges slightly for seamless patterns.
- Use smaller hand tools for corners and tight spots.
Tip: Work in sections and keep mats clean to avoid smudging.
7. Add Texture and Details
Enhance realism by adding depth.
- Use texture skins to create natural-looking finishes.
- Add control joints with a groover tool to prevent cracking.
- Brush edges for grip and contrast.
8. Cure the Concrete
Curing is essential for strength and durability.
- Cover with plastic sheeting or curing blankets for 7 days.
- Keep surface moist by misting with water regularly.
- Avoid heavy traffic during curing.
9. Seal the Driveway
Sealing protects the pattern and color.
- Apply a high-quality, non-yellowing sealer after the concrete has cured (about 28 days).
- Reseal every 2–3 years to maintain appearance and resistance to stains.
Common Mistakes to Avoid
- Mistake 1: Pouring Too Much Concrete at Once
Solution: Work in manageable sections so stamping can be done before the concrete sets. - Mistake 2: Skipping the Release Agent
Solution: Always apply a release agent to prevent mats from sticking and tearing the surface. - Mistake 3: Uneven Stamping Pressure
Solution: Apply consistent pressure across mats for uniform depth. - Mistake 4: Poor Drainage Slope
Solution: Always grade the base properly—patterned concrete still needs good drainage. - Mistake 5: Neglecting Sealant
Solution: Unsealed concrete will fade and stain quickly; reseal regularly.
Extra Driveway Tips & Hacks
- Combine Colors: Blend two or more colors for a natural stone look.
- Add Borders: Use contrasting patterns or colors along the edges for a decorative frame.
- Lighting Boost: Install low-voltage lighting to highlight the texture at night.
👉 Want more driveway ideas? Check out our guide on how to create a resin-bound driveway.
Conclusion
Creating a patterned concrete driveway is one of the best ways to combine functionality with beauty. By planning carefully, preparing a strong base, pouring and coloring properly, and stamping with precision, you’ll achieve a stunning driveway that stands out for decades.
💡 Pro Tip: Always reseal your patterned driveway every few years—maintenance is minimal compared to the lasting curb appeal it provides.